
Roblox Avatar is a user-generated content platform where creativity reigns supreme. It allows users to craft their own experiences, games, and, most importantly, avatars. With the keyword “avatar=Roblox” in focus, this guide will cover the intricacies of creating and customizing avatars, the tools and techniques involved, and how users can maximize their Roblox experience by designing unique virtual identities.
1. Roblox Avatars: A World of Customization
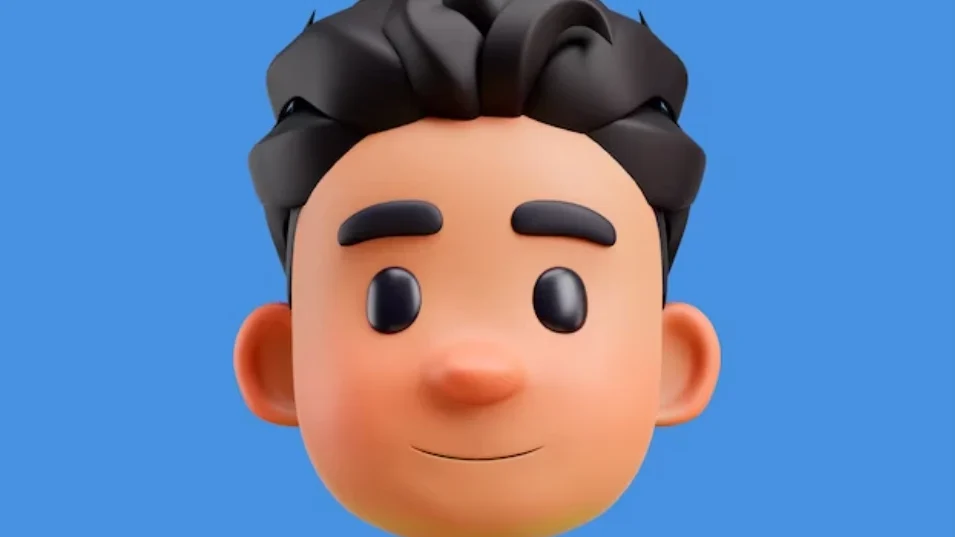
Roblox avatars are 3D characters that represent players in the game world. The essence of Roblox lies in giving each user a unique identity through an extensive range of customization options. Users can customize their avatars using clothing, accessories, animations, and more purchased or created. Must Read About 127.0.0.1:49342 – Understanding Localhost, Ports, and Their Uses.
1.1 What Makes Up a Roblox Avatar?
Roblox avatars are more than just simple 3D models; they encompass several components that bring them to life:
- Body Parts: Each avatar consists of 15 separate mesh objects. These include various limbs, torso, and head shapes that define the avatar’s appearance. In Roblox Studio, these elements are represented by
MeshPartobjects nested within a singleModel. - Textures: Textures are the image files that give the avatar its color and surface details. Whether creating custom skin tones or adding elaborate designs to clothing, textures play a significant role in the final appearance. When texturing, transparency is crucial as it allows for modifications like custom skin tones. Textures must be imported as image files into Roblox Studio and linked through the
SurfaceAppearanceinstance or theMeshPart.TextureIDproperty. - Rigging Armature: This is the avatar’s skeleton, allowing for the movement of limbs and natural articulation. The armature consists of bones (or joints) that define how different character parts move and bend, making animations smooth and lifelike.
- Facial Animation Data: Avatars can express emotions through various facial animations. This involves rigging facial bones and skinning techniques to simulate expressions like smiling, blinking, or speaking. These expressions are mapped as keyframes in the animation timeline, providing avatars with dynamic interactions.
- Cage Meshes: The cage meshes are invisible outer surfaces that ensure clothing and accessories fit correctly on the avatar. They allow for consistent fitting over avatars of different shapes and sizes. These cages must follow the standard mesh provided by Roblox to avoid issues with clothing fit.
- Attachments define where accessories such as hats, glasses, and other items attach to the avatar’s body. Although not visible to the end-user, these attachment points are critical for equipping cosmetics and ensuring they move naturally with the character.
2. Creating a Custom Roblox Avatar
Creating custom avatars requires a mix of artistic skills and knowledge of 3D modeling software, such as Blender or Maya. To start, one must understand the components of an avatar, the specific requirements for importing into Roblox Studio, and the tools available for design.
2.1 Step-by-Step Guide to Avatar Creation
- Modeling: Design the base avatar using a 3D modeling program like Blender or Maya. When designing, ensure the model consists of all the necessary components, including 15 body parts and appropriate attachment points for accessories.
- Texturing: Use texture files to apply surface details to the model. To comply with Roblox’s community standards, including a modesty layer over sensitive regions is vital.
- Rigging: The avatar’s skeleton (armature) needs to be rigged to facilitate movement. This involves defining bones for different body parts and connecting them in a way that allows for natural articulation during animations.
- Exporting: Once the avatar is complete, export it as a .fbx or .gltf file for import into Roblox Studio. Ensure the model follows Roblox’s naming conventions and standards during this stage.
- Importing into Roblox Studio: Use Roblox’s 3D Importer tool to bring the avatar into Studio. It’s essential to disable the “Upload to Roblox” option during the initial import phase to test the model locally before publishing.
- Testing: After importing, test the avatar with different animations and accessories to ensure compatibility. If issues are found, adjustments may need to be made in the original 3D model.
2.2 Requirements for Auto-Setup
Roblox offers an Auto-Setup tool that simplifies avatar models’ rigging, skinning, and caging process. However, for the best results, the input model must meet specific requirements:
- Single Mesh: The avatar should be a single mesh comprising six merged components, including the head, torso, and limbs.
- Humanoid Shape: The model must be recognizable as a humanoid, complete with two arms, two legs, a torso, and a head.
- A-Pose: The model should be in an A-pose rather than the commonly used T-pose for proper integration.
- Polygon Count: The triangle count must not exceed 10,742 to stay within Roblox’s performance guidelines.
Non-standard models, such as asymmetrical characters or those without a distinct neck, might not work well with the Auto-Setup tool.
3. Importing Avatars into Roblox Studio
The 3D Importer tool in Roblox Studio accepts model formats like .fbx, .gltf, and .obj. When importing, select the character model, disable “Upload to Roblox,” and use the Auto-Setup tool to streamline the integration process.
3.1 Resolving Errors During Import
During import, errors or warnings might arise. These can include issues with incorrect bone naming conventions, texture map errors, or exceeding polygon limits. Address these issues by modifying the model in your 3D software before re-importing.
3.2 Finalizing the Avatar
After successful import and testing, finalize the avatar by adding animations and fine-tuning aspects like texture maps or attachment points. The avatar is now ready for in-game usage and publishing to the Roblox Marketplace.
4. Adding Accessories and Clothing
One of the most exciting aspects of avatar customization in Roblox is the ability to add accessories and layered clothing. The Marketplace offers a vast selection of items the community creates, allowing users to mix and match elements to build their unique avatar look.
4.1 Clothing and Accessories Design
Roblox supports various clothing types, including classic shirts, pants, and layered clothing. For accessories, developers must create and rig 3D models in external software before importing them into Roblox Studio.
4.2 Creating Layered Clothing
Layered clothing involves using cage meshes to fit clothing over avatars of varying body shapes and sizes. This method ensures that the clothing conforms to the avatar’s shape without remodeling the item for each unique body type.
5. Publishing Avatars on Roblox Marketplace
Custom avatars and accessories can be published in the Roblox Marketplace, making them available for other players to purchase and use. Before publishing, ensure compliance with Roblox’s community standards and marketplace policies.
5.1 Pricing and Commissions
Creators can set prices for their avatars and accessories. Roblox imposes a marketplace fee, taking a percentage of the sales as a commission. This encourages high-quality content and provides an earning opportunity for creators.
5.2 Moderation and Community Standards
All uploaded content undergoes moderation to ensure it aligns with Roblox’s policies. This includes checking for inappropriate content, excessive violence, and anything that violates intellectual property rights.
6. Community Creations: Encouraging Creativity
The Roblox community thrives on user-generated content, and avatar customization is at the heart of this. Players can express themselves through their characters, and the Marketplace allows sharing and monetizing these designs. The collaborative aspect of Roblox encourages creativity and innovation, with experienced modelers often sharing tips and tutorials to help others in their journey.
6.1 Popular Avatar Trends
Roblox’s diverse user base means that avatar trends are ever-changing. Players use the platform’s extensive customization options, from fantasy creatures to modern streetwear styles, to follow trends or create their own.
6.2 Events and Collaborations
Roblox hosts events and collaborations with famous brands, adding limited-time avatar items. These events often draw large numbers of players and serve as inspiration for new avatar designs.
7. Conclusion
Roblox’s avatar system is the platform’s cornerstone, offering users vast creative freedom. Whether customizing pre-existing models or building new avatars from scratch, the level of detail and personalization options available to users enriches the gaming experience. By utilizing tools like Auto-Setup, 3D modeling software, and the Marketplace, creators can fully explore the potential of Roblox avatar customization. Must Read About Sumosearch: A Complete Guide and Competitor Analysis.